Configure a Delta Force aimbot that looks human — choosing the right bone target, smoothing curves, FOV radius, and visibility checks to stay under the radar while dominating matchs.
A raw aimbot that snaps instantly to every target is both obvious and unpleasant to play. A well-tuned aimbot feels like an extension of your own skill — catching targets you'd nearly miss, correcting for movement, never snapping unnaturally. Here's how to get there.
Bone Selection: Head vs Chest vs Neck
Head: Maximum damage per shot, kills faster. Risk: head hitboxes are small and move more erratically. Miss rate is higher at range. Looks suspicious if you're consistently landing headshots at 150m on moving targets.
Chest/Upper Chest: Larger hitbox, more forgiving. Consistent damage but requires more shots. Looks natural for rifle combat distances.
Neck: Sweet spot. Close to the head damage multiplier but with a slightly larger and more stable hitbox. Recommended default for most scenarios.
Pro tip: use chest as your primary and bind a key to temporarily switch to head for close-range finishes.
FOV Radius
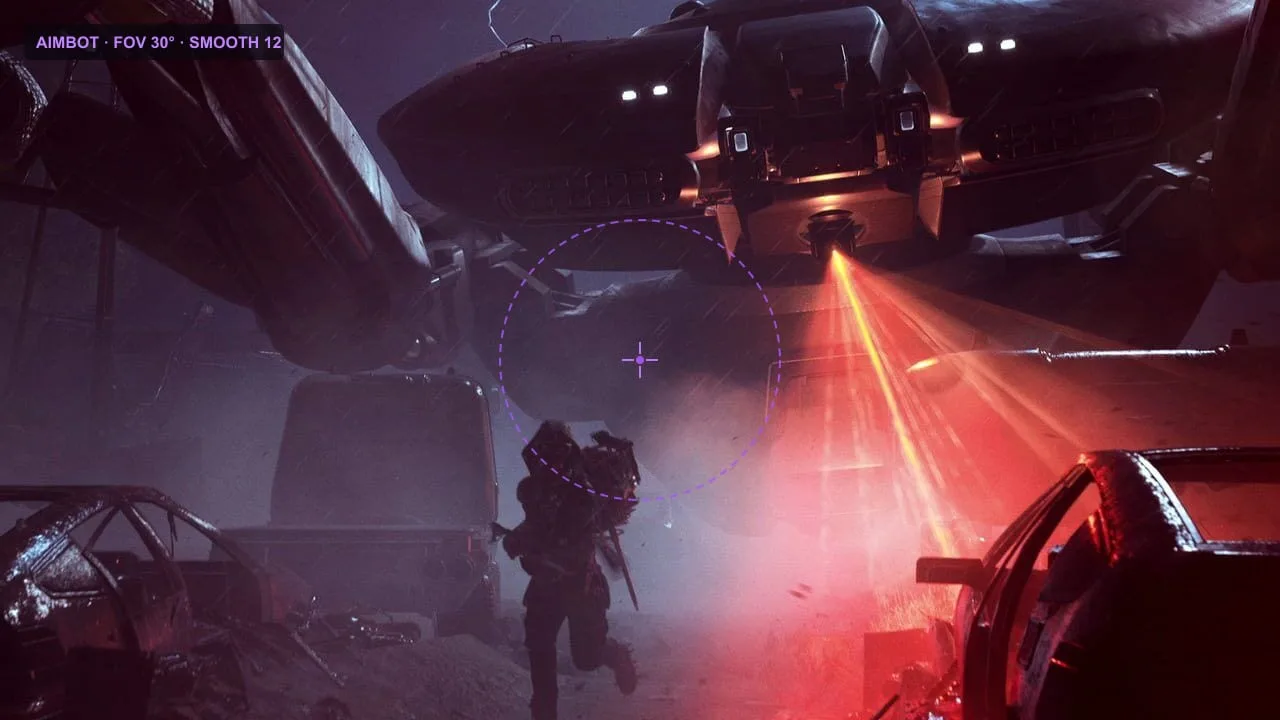
The FOV (Field of View) circle defines how far from your crosshair the aimbot will reach to acquire a target. A tiny FOV (10–15°) only assists when enemies are nearly on your crosshair already — very subtle, very human. A large FOV (60°+) yanks your aim across the screen — obvious and jarring.
Recommended: Start at 25–35° for general use. Drop to 15° in close quarters where enemies are always near crosshair anyway. Use the Draw FOV option to see the circle on-screen while configuring.
Smoothing: The Most Important Setting
Smoothing controls how fast the aimbot moves from your current crosshair position to the target. A smoothing value of 1 is instant snap. Values of 8–15 produce a curved, human-looking glide.
Think of it as the number of interpolation steps. Higher = slower and more natural. Start at 10–12 and only reduce it if you're missing mobile targets at close range.
Visibility Check
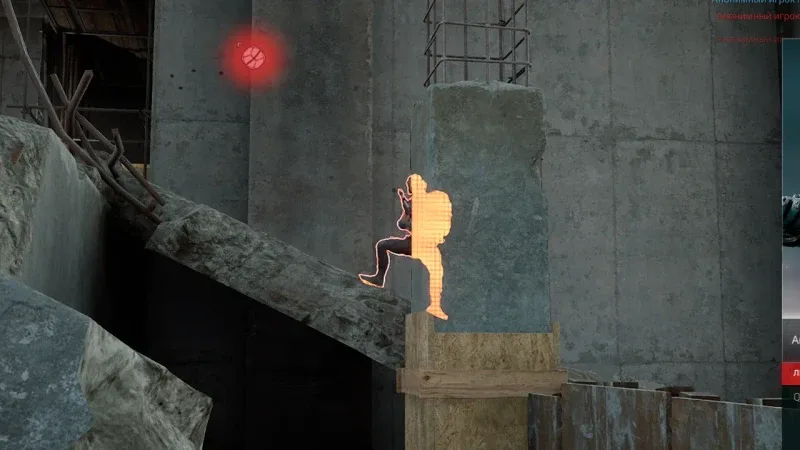
Always enable the visibility check. This ensures the aimbot only locks targets that have line-of-sight to you — enemies behind solid cover get ignored. Without this, your crosshair will track through walls, looking extremely suspicious and potentially providing worse performance since you'd be aiming at cover.
Recoil Control
Delta Force weapons have realistic recoil patterns. The recoil control module reads the current weapon's kick and applies inverse compensation — pushing the crosshair down to counteract muzzle rise. The result is laser-flat spray.
Key setting: don't max out recoil control to 100%. At 65–80%, it looks like a highly skilled player controlling recoil. At 100%, full-auto at 100m with zero vertical deviation is immediately suspicious to spectators.
Sample Config for New Users
| Setting | Value |
|---|
| Bone Target | Neck |
| FOV | 30° |
| Smoothing | 12 |
| Visibility Check | On |
| Recoil Control | 70% |
| Aim Key | Mouse 4 (side button) |
Run this config for your first 5 matchs. Adjust from there based on your natural aim style.